LogicFlow 是一款流程图编辑框架,提供了一系列流程图交互、编辑所必需的功能和灵活的节点自定义、插件等拓展机制。LogicFlow支持前端研发自定义开发各种逻辑编排场景,如流程图、ER图、BPMN流程等。在工作审批配置、机器人逻辑编排、无代码平台流程配置都有较好的应用。
🎄Hi~ 大家好,我是小鑫同学,一位长期从事前端开发的编程爱好者,我将使用更为实用的案例输出更多的编程知识,同时我信奉分享是成长的唯一捷径,在这里也希望我的每一篇文章都能成为你技术落地的参考~
1. 准备工作
1. 初始化项目:
1.1 初始化环境:
使用
pnpm create vite创建项目,选择Vue框架及TypeScript变体;
1.2 安装核心模块:
安装核心模块:
pnpm add @logicflow/core;
2. 初始化容器及LogicFlow对象:
2.1 准备容器:
准备一个
container容器,并通过css初始化容器的尺寸;
<template>
  <div ref="container" class="container"></div>
</template>

<style scoped>
.container {
  width: 500px;
  height: 400px;
}
</style>
2
3
4
5
6
7
8
9
10
11
2.2 导入模块:
导入
LogicFlow和对应的样式依赖模块;
<script setup lang="ts">
import LogicFlow from "@logicflow/core";
import "@logicflow/core/dist/style/index.css";
</script>
2
3
4
2.3 实例化&渲染:
在
onMounted后对LogicFlow对象实例化并进行渲染,为了能看到初始容器建议开启grid选项;
<script setup lang="ts">
import { onMounted, ref } from "vue";

const container = ref();
const lf = ref<LogicFlow>();

onMounted(() => {
  lf.value = new LogicFlow({
    container: container.value,
    grid: true,
  })
  lf.value.render();
})
</script>
2
3
4
5
6
7
8
9
10
11
12
13
14
2.4 预览效果:
启动项目后在浏览器访问即可看到这个
500*400的点阵图,这个就是后面绘制节点的区域;

2. 自定义业务节点:
2.1 准备自定义模板:
准备自定义业务节点模板,分别继承
RectNode和RectNodeModel并导出type、view和model三个选项:
import { RectNode, RectNodeModel } from "@logicflow/core";

class CustomNodeView extends RectNode {

}

class CustomNodeModel extends RectNodeModel {

}

export default {
    type: "CustomNode",
    view: CustomNodeView,
    model: CustomNodeModel,
}
2
3
4
5
6
7
8
9
10
11
12
13
14
15
2.2 优先注册&使用:
优先进行注册并定义数据,方便自定义业务节点实时预览;
<script setup lang="ts">
// 导入自定义节点
import CustomNode from "./nodes/CustomNode";

// 定义graphData
// 数据中的type为自定义节点导出的type属性的值
// 将节点在坐标为(100,100)的位置显示
const graphData = {
  nodes: [
    {
      id: 'fba7fc7b-83a8-4edd-b4be-21f694a5d490',
      type: 'CustomNode',
      x: 100,
      y: 100
    }
  ]
}

onMounted(() => {
  // 在执行render前进行注册
  lf.value.register(CustomNode);
  lf.value.render(graphData);
})
</script>
2
3
4
5
6
7
8
9
10
11
12
13
14
15
16
17
18
19
20
21
22
23
24
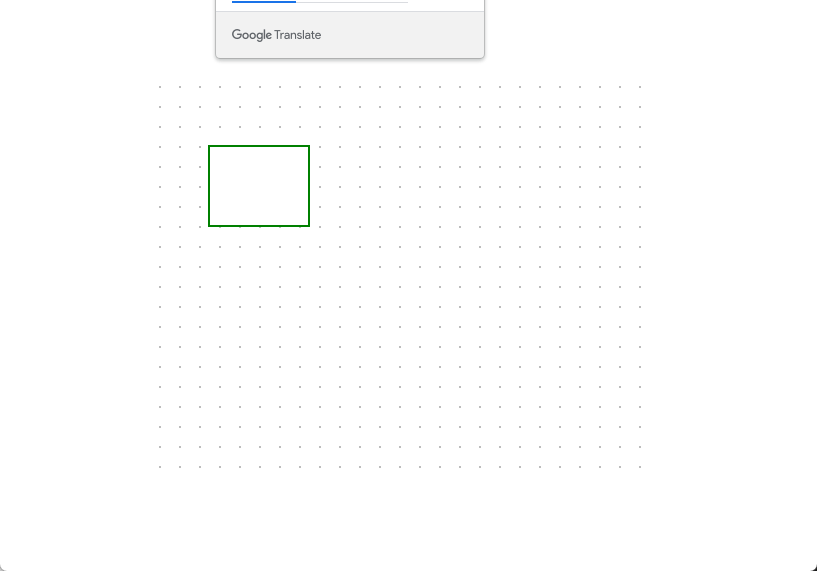
tip:此时的容器正常情况下就已经渲染出100*80的矩形节点了;
2.3 自定义样式:
自定义业务节点的样式(绿色描边),需要重写
RectNodeModel类中的getNodeStyle()函数;
getNodeStyle() {
  const style = super.getNodeStyle();
  style.stroke = 'green';
  return style;
}
2
3
4
5
tip:此时的矩形的边框将变成绿色;

2.4 自定义形状:
自定义业务节点的形状(圆角矩形),需要重写
RectNodeModel类中的initNodeData(data: any)函数;
initNodeData(data: any): void {
  super.initNodeData(data);
  this.width = 120;
  this.height = 80;
  this.radius = 10;
}
2
3
4
5
6
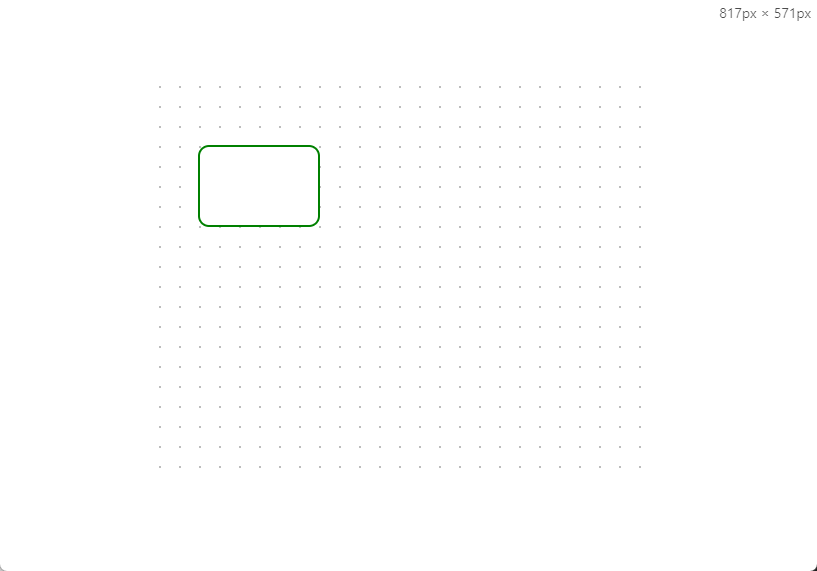
tip:此时的矩形将获得圆角并且默认的尺寸将变成120*80;

2.5 自定义外观:
自定义业务节点的外观可以实现更加个性化的显示效果,可以通过重写
RectNode类中的getShape()并借助LogicFlow提供的h函数来实现个性化效果的渲染;
- 第一步:使用
h函数渲染重写getShape前的外观;rect的原点与graphData原点非同一个点,需要转换;
getShape() {
    // 获取XxxNodeModel中定义的形状属性
    const { model } = this.props;
    const { x, y, width, height, radius } = model;
    // 获取XxxNodeModel中定义的样式属性
    const style = model.getNodeStyle();

    return h('g', {}, [
        h('rect', {
            ...style,
            x: x - width / 2,
            y: y - height / 2,
            width,
            height,
            rx: radius,
            ry: radius,
        })
    ]);
}
2
3
4
5
6
7
8
9
10
11
12
13
14
15
16
17
18
19
- 在现在矩形节点的左上角增加一个自定义的
Icon,可以在iconfont找一个喜欢的Icon,并拷贝其SVG数据,再通过h函数重写并渲染;
h('svg', {
    x: x - width / 2 + 5,
    y: y - height / 2 + 5,
    width: 25,
    height: 25,
    viewBox: "0 0 1028 1024",
}, [
    h('path', {
        fill: style.stroke,
        d: "M20.6692 180.672c-27.104 27.136-21.312 65.344 0.256 86.88 0.864 0.832 87.488 83.584 209.312 205.408 3.136 3.136 7.232 4.672 11.328 4.672s8.192-1.568 11.328-4.672c6.24-6.24 6.24-16.384 0-22.624-18.368-18.368-35.84-35.744-52.416-52.192l50.848-50.848c6.24-6.24 6.24-16.384 0-22.624s-16.384-6.24-22.624 0l-50.976 50.976c-28.512-28.16-53.632-52.736-74.08-72.672l115.68-115.68c6.24-6.24 6.24-16.384 0-22.624s-16.384-6.24-22.624 0l-116.032 116.032c-23.552-22.816-37.12-35.776-37.344-36-6.752-6.752-15.616-25.76 0-41.376l160-160c6.176-6.272 22.624-18.72 40.672-0.768 0.8 0.896 81.6 92.672 204.928 216 6.24 6.24 16.384 6.24 22.624 0s6.24-16.384 0-22.624c-122.56-122.528-202.752-213.6-204.224-215.264-29.824-29.76-65.792-20.832-86.624 0l-160.032 160zM699.3252 772.672c-6.24-6.24-16.384-6.24-22.624 0l-50.912 50.88c-15.52-15.712-31.808-32.16-48.96-49.312-6.24-6.24-16.384-6.24-22.624 0s-6.24 16.384 0 22.624c118.528 118.496 201.312 207.008 202.496 208.288 10.976 11.008 26.016 17.056 42.336 17.056l0 0c16.8 0 33.792-6.56 44.32-17.12l159.936-161.824c20.128-20.128 21.28-54.272 2.496-73.12l-214.592-214.56c-6.24-6.24-16.384-6.24-22.624 0s-6.24 16.384 0 22.624l214.592 214.56c6.4 6.4 5.184 20.224-2.528 27.936l-159.968 161.824c-3.68 3.712-12.032 7.68-21.632 7.68 0 0 0 0 0 0-5.504 0-13.376-1.344-19.328-7.328-0.32-0.352-13.728-14.656-36.992-39.008l116.608-116.608c6.24-6.24 6.24-16.384 0-22.624s-16.384-6.24-22.624 0l-116.128 116.128c-19.968-20.768-44.448-46.016-72.32-74.432l51.072-51.072c6.24-6.208 6.24-16.32 0-22.592zM4.5412 1018.528c3.072 3.136 7.2 4.8 11.456 4.8 1.536 0 3.072-0.224 4.576-0.672l320-95.328c2.592-0.768 4.896-2.144 6.784-4.064l546.88-550.56c0.768-0.768 1.152-1.76 1.728-2.624l116.992-116.992c9.408-9.44 14.624-21.952 14.624-35.296s-5.216-25.824-14.624-35.2l-167.52-167.488c-18.816-18.816-51.68-18.816-70.496 0l-119.648 119.648c-0.768 0.768-1.184 1.76-1.76 2.656l-547.712 547.744c-1.792 1.792-3.136 3.968-3.904 6.368l-101.12 310.88c-1.856 5.664-0.416 11.84 3.744 16.128zM667.5172 168.672l33.248 33.248-496.736 498.08-55.264-12.544 518.752-518.784zM223.9972 725.312l499.424-500.736 77.952 77.952-503.936 497.472-73.44 0 0-74.688zM860.2852 361.472l-519.808 523.328-18.464-64.064 501.984-495.584 36.288 36.32zM127.7732 715.488l64.224 14.592 0 85.92c0 8.832 7.168 16 16 16l83.968 0 20.288 70.4-271.616 80.928 87.136-267.84zM797.5972 37.728c6.752-6.752 18.496-6.752 25.248 0l167.52 167.52c3.36 3.36 5.216 7.84 5.216 12.608 0 4.736-1.856 9.248-5.248 12.64l-107.872 107.904-192.736-192.736 107.872-107.936z",
    })
])
2
3
4
5
6
7
8
9
10
11
12
2.6 最终预览:
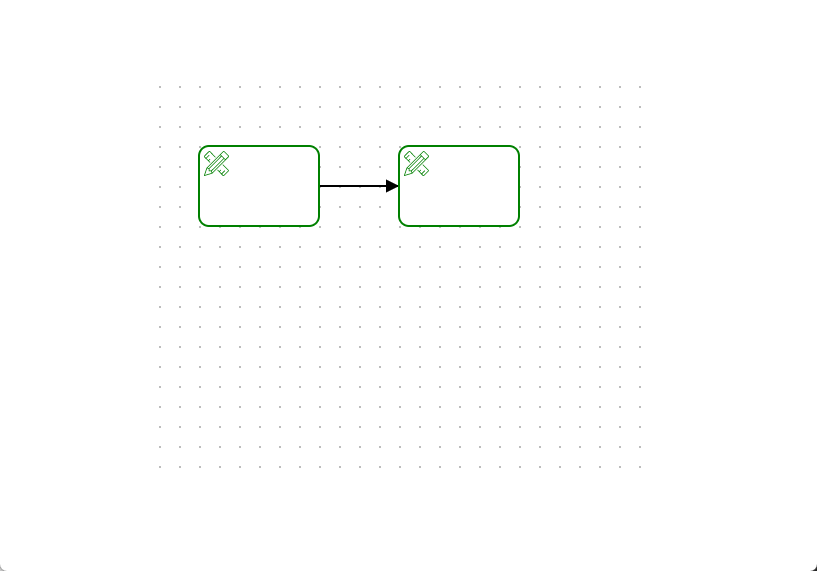
至此这个新的自定义业务节点就完成了,这种风格的业务节点也是大多数流程管理系统中常见的风格;接着补充一下graphData数据,来看一下最终效果~
const graphData = {
  nodes: [
    {
      id: 'fba7fc7b-83a8-4edd-b4be-21f694a5d490',
      type: 'CustomNode',
      x: 100,
      y: 100
    },
    {
      id: '681035e6-11e3-43d7-9392-1deed852c01a',
      type: 'CustomNode',
      x: 300,
      y: 100
    }
  ],
  edges: [
    {
      sourceNodeId: 'fba7fc7b-83a8-4edd-b4be-21f694a5d490',
      targetNodeId: '681035e6-11e3-43d7-9392-1deed852c01a',
      type: 'polyline'
    }
  ]
}
2
3
4
5
6
7
8
9
10
11
12
13
14
15
16
17
18
19
20
21
22
23

如果看完觉得有收获,欢迎点赞、评论、分享支持一下。你的支持和肯定,是我坚持写作的动力~
